How To Use Our Mushroom Grow Kits At Home
Congratulations on your new mushroom grow kit
The basic fundamentals to growing any of our mushroom grow kits is to provide it with humidity and fresh air. Most varieties grow best between 60-75 degrees F, with certain varieties being able to grow at slightly lower or higher temperatures which we’ll talk about more below.
All of the mushroom grow kits are bags of living mushroom mycelium (mushroom roots) that are ready to start growing immediately. If you are not ready to start the kit upon receiving it you can postpone fruiting/growing by storing it in the refrigerator or garage/breezeway, in cooler temperatures, for 7-10 days.

The first step to starting your kit is to make a slice in the bag for the mushrooms to grow out of. The variety of mushroom you are growing will determine what opening you will make. Please see below.

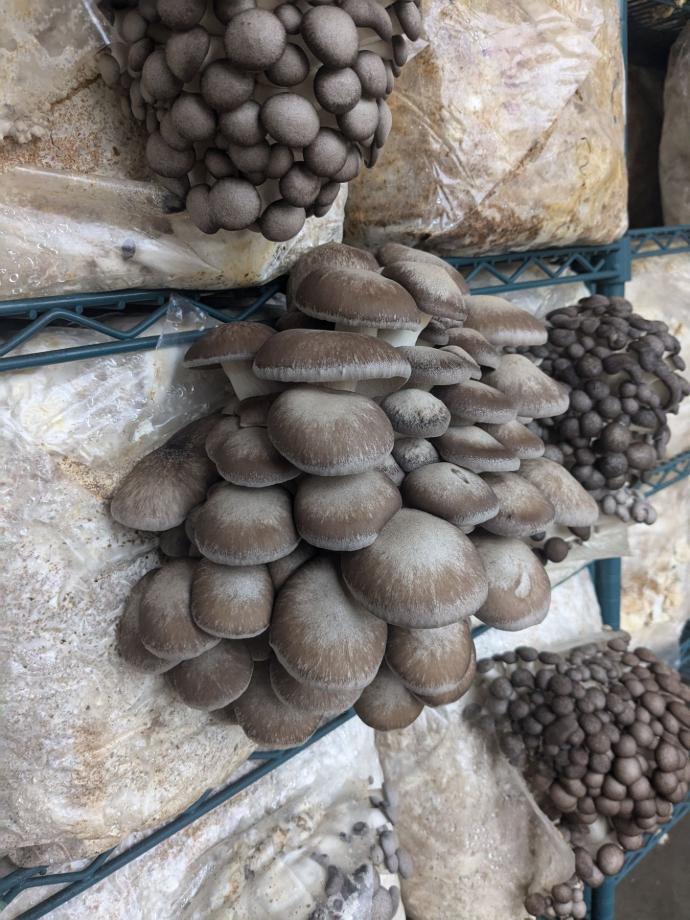
Oysters
(Including Michigan, Blue, Black King, Pink, Golden, Italian, Snow, and all others except King Oyster):
Slice a large “H” or an “X” on the broad side of the bag, then fold over the top of the bag to the opposite side, leaving the opening exposed. Lay the kit down with the opening facing up. Your opening should be around 8x8 inches, with flaps that lay flat to keep the surface of the block and mycelium moist but allow the mushrooms to seek out the fresh air and force their way through the opening.

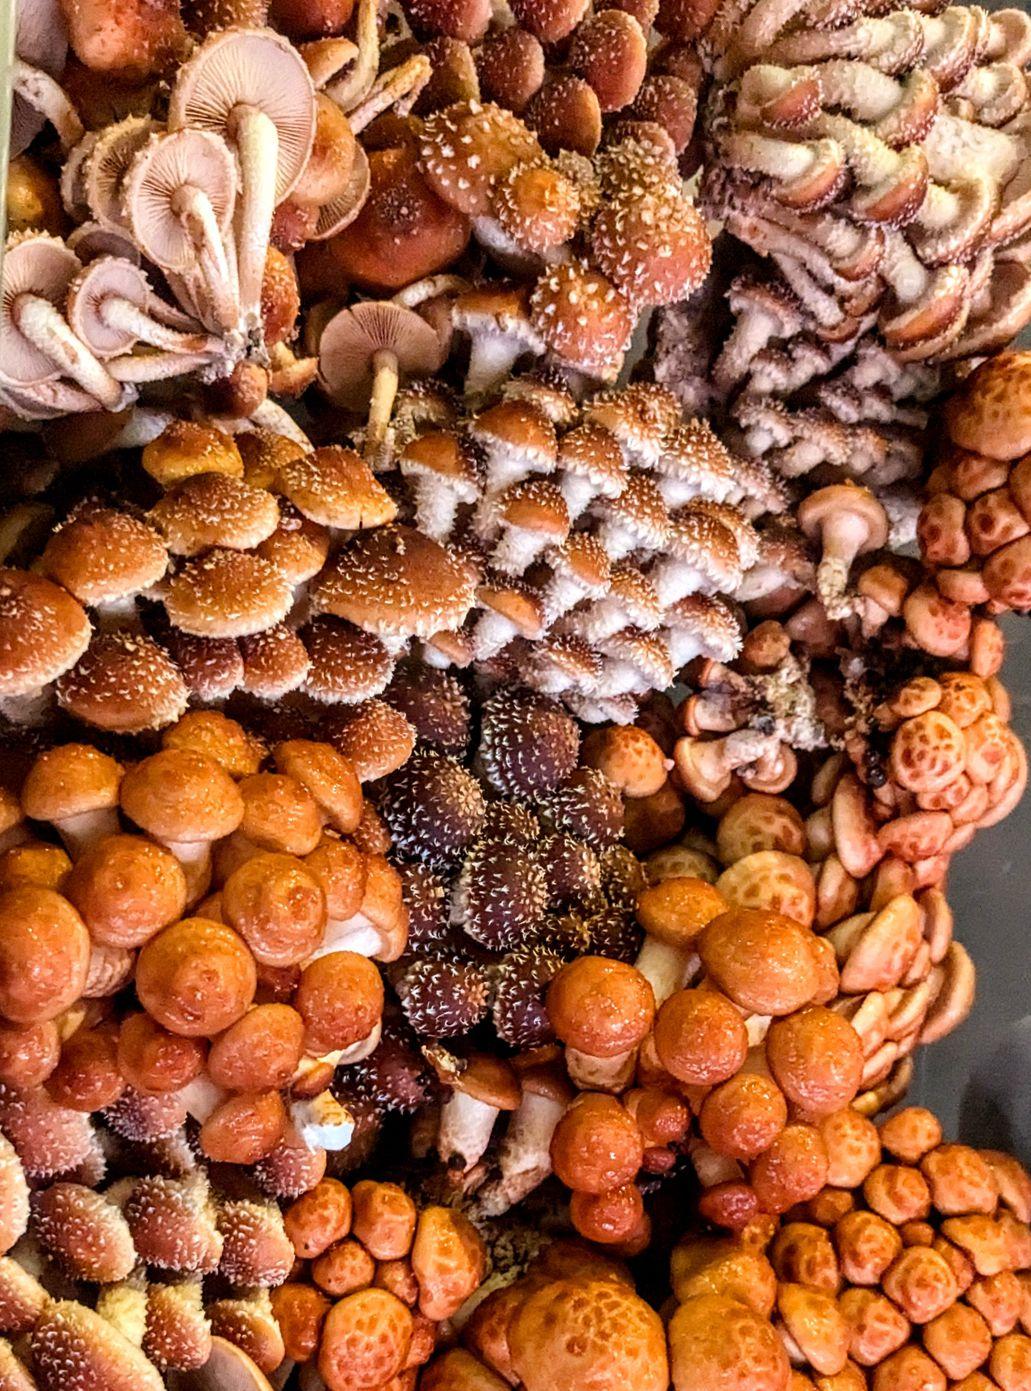
Black Poplar, Chestnut, and King Oyster
Cut off the top of the bag off entirely; removing roughly 6 inches from the top and leaving about 3-5 inches of the sides of the bag remaining above the top of the substrate block. These walls will help trap moisture and and more easily keep the top of your block moist but allow the mushrooms to form in the best way.
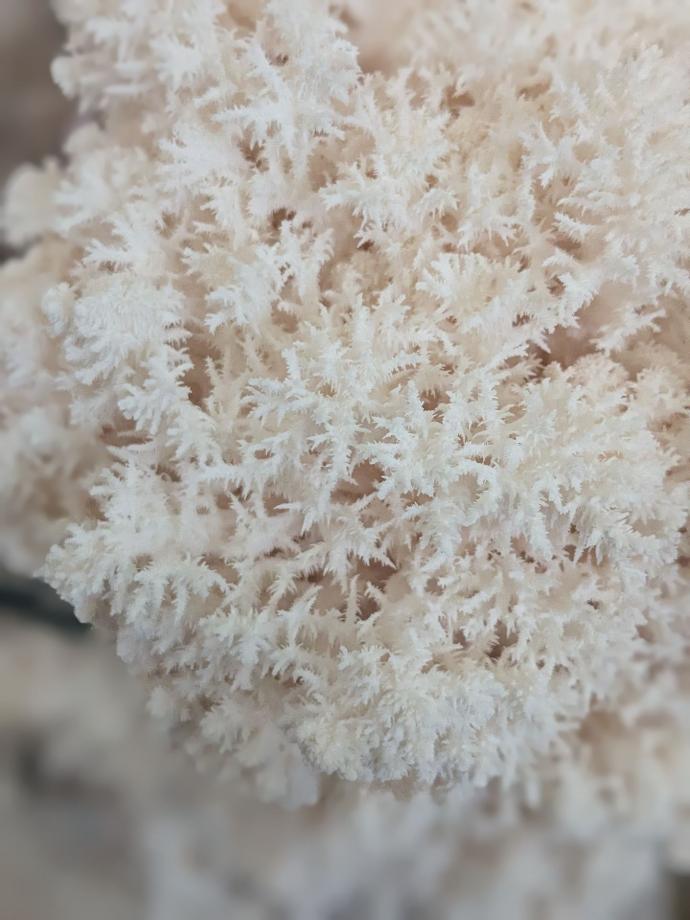
Lion's Mane
With a razor knife cut two 1in. by 1in. X shaped holes on the broad side of both sides of the bag (4 total), about 2-3 inches below the top of the block of substrate. Roll down the top of the bag squeezing out all of the air and tape down to hold.
Roll down the top of the bag squeezing out all of the air and tape down to hold. Lion’s mane will grow where it senses oxygen, so taping down the top will help direct its growth to the holes you have created. Keeping the holes near the top of the substrate will give you mushrooms room to grow out and hang down the side of your bag without resting on whatever you have your bag sitting on, which can be bad for you mushrooms and trap excess moisture.
Shiitake
Shiitake blocks produce a better yield if they receive a cold shock prior to cutting open the bag. Store your kit in the refrigerator, basement, or depending on the weather outdoors for 24 hours. It just needs to be about 10-20 degrees cooler than average indoor air temperatures.
Shiitake also benefit from a physical shock, hold your kit about 2 feet off the ground and drop it, letting it fall to the floor. Then, make a 10 inch slit across on of the broad sides of the bag, just underneath the filter. This exposes the block to the fresh air, but not too much! Shiitakes need to be very humid when they first start to form so keeping the bag helps to keep in the humidity initially. Place in your humidity chamber, follow the instructions below and once you see a number of small round formations reaching rough dime-sized - pushing up against the bag - it is time to remove the bag entirely.
Storing Your Kit
1. Place the kit into your humidity chamber, we recommend using a large plastic storage tote with the lid slightly askew (to allow for evaporation) or creating some sort of plastic tenting around the kit with a large garbage bag and wooden dowels/skewers.


2. Pick a spot! Choose a place in your home or yard out of direct sunlight. The basement, garage, bathroom, laundry room... We’ve had customers tell us that they put it next to the kitchen sink or in the bathtub! Pick the best location that will be conducive to maintaining your humidity level. To ensure that your kit is receiving enough humidity you want to make sure you can always see some condensation on the walls of your humidity chamber.
Mushrooms do not need sunlight to grow but if grown in complete darkness they will develop little/lighter color. Direct sunlight will dry out your block and make it hard to keep up the humidity but with some light not only will they develop a deeper color but they will also generate more vitamin D!
***Once mushrooms reach a certain maturity level they will start to release spores. This is part of their natural reproduction process. Some people are more sensitive to spores or may have an allergic reaction to them which usually presents as respiratory irritation/coughing. This is rare but good to keep in mind. For this reason you may consider growing your kit in a well ventilated area, a protected place outside, in the garage, basement, not a main living area or bedroom. Harvesting the mushrooms while they are young will also help reduce the amount of spores that are released.
3. Mist and fan 2-3 times daily and mushroom pins will start forming from the opening within 1-2 weeks. Be sure to mist the walls of the tote or tenting, and not the block directly. Pins should start to form on the top of the block within about 1-2 weeks. It is crucial to keep your grow kit humid at the very beginning, if the surface of the block gets too dry it is unlikely that the mushrooms will start to pin. Be diligent with your misting!
Just like us, mushrooms breathe in oxygen and release carbon dioxide. If there is too much Co2 the mushrooms cannot breathe and may not develop correctly. Higher Co2 usually results in longer stems and smaller caps because the mushrooms are growing upwards, like they would through the soil, searching for fresh oxygen and the right environment to fruit, mature, and release their spores.

Every time you go to mist your kit, use the lid of the tote to vigorously fan fresh air into the container. Co2 can pool at the bottom of the container and sometimes fanning by hand just isn’t enough. It’s a good idea to take the kit completely out of the container periodically and wave the container around or blow a fan directly into the tote for just a few minutes once a day. You can also set the container outside with the lid off for a few hours on overcast days, mornings, evenings, or shaded areas to really ensure proper ventilation.

Time to Harvest
4. The mushrooms should be ready to harvest in another 5-7 days. Each variety is a little different when reaching maturity and best time to pick:

Oysters
Once the cap/outer edge of the mushrooms have flattened out and are less turned under. Put your hands at the base of the cluster and gently rock back and forth until it breaks free. Careful! Sometimes they like to jump off of the block.
Chestnut/Black Poplar
These are ready to harvest once the cap has opened up and becomes more hemispherical but before they become flattened or concave. Also if you look at the underside of the mushroom, once the mushroom veil starts to break away from the stem. Grab the base of the cluster and gently rock it off of the block

Lion's Mane
Once the hairs reach about a ¼ - ½ inch in length. Put your hand underneath the mushroom and on top and lightly twist to harvest.
Shiitake Once the cap opens up and there is no longer a rim underneath. Use a scissors to cut the mushroom off of the block .

Troubleshooting
For Oysters, Chestnuts and Black Poplars, sometimes the pins will start forming around the sides of the block underneath the bag. If this happens simply cut the bag around the pin set to release them and let them continue to grow.

4. After your first harvest the block will produce a second, third, sometimes fourth flush but usually much smaller than the first. Keep the block in your humidity chamber and continue to mist daily to keep the humidity up. You should see a second flush within a few weeks. If you do not start to see the second pinset form in 1-2 weeks you can try letting your block rest for a week by stopping the humidity. After its week of rest, run your block under cool water for several minutes and then place it back in your humidity chamber and give it a second go.
Let us know if you have any questions along the way. And please share your pictures by sending them to us directly or tagging us on social media! Find us on Facebook a nd Instagram @mycophiles_garden. We love to see your success and would be happy to offer any advice if things don’t seem to be going quite right. You can reach us at [email protected]. Best of luck!