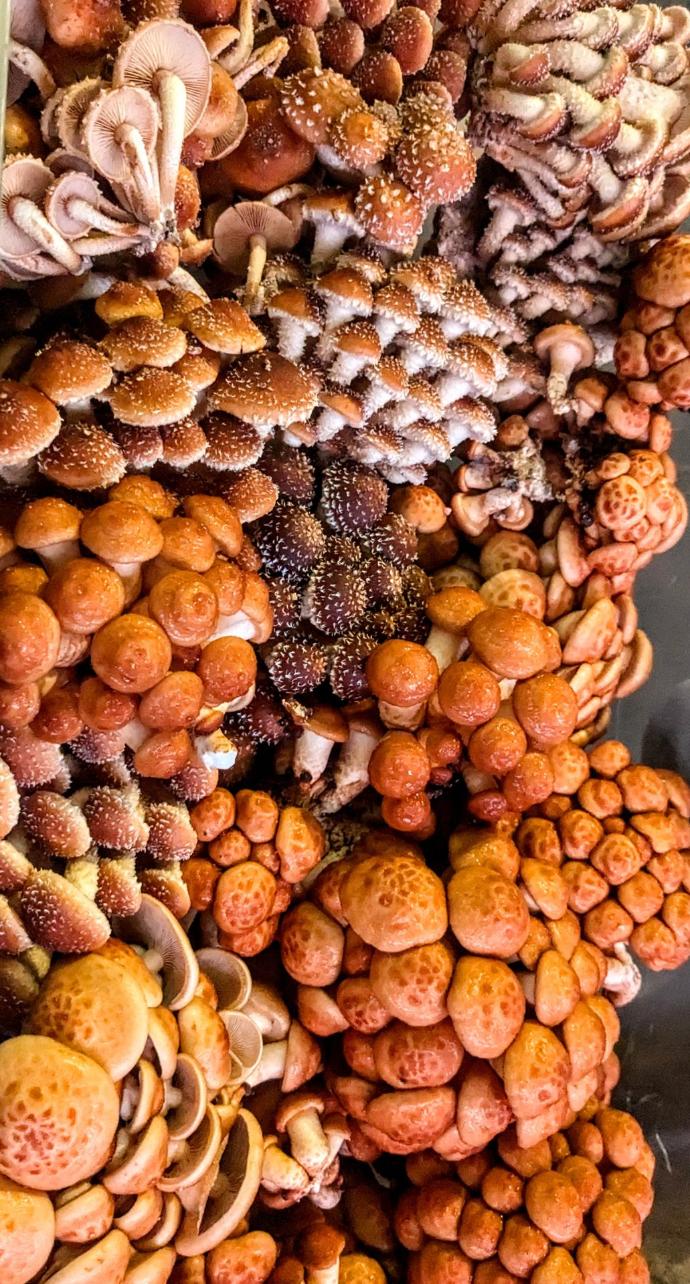
Chestnut and Nameko Mushrooms are closely related and in the Genus Pholiota, which means "scaly". All the species in this genus have small protrusions on the caps known as scales, warts, or areolae.
Chestnuts have stronger, earthy, mushroomy flavor, while Nameko are more mild.
Both species tend to be a little sticky, especially Nameko which are coated in a protein based sticky gel. This gives them a thickening effect in soups and add a velvety mouth feel making them the traditional mushroom of choice in miso soup.
Step 1: Let 'em breathe
Find a large storage tote, empty aquarium, or similar container, even a cardboard box can work.
It does not have to be translucent, but mushrooms exposed to indirect light will produce deeper color or more compounds like vitamin D and melanin. Plastic wrap over a cardboard box can be an inexpensive way to get some light to your kit. They do not require light to grow, having a window in the room will provide enough for them to develop their color.
Using a clean razor knife, slice of the top of the bag about 2-3 inches above the top of the substrate block inside. Exposing the top the substrate to air will cause your mushrooms to start growing while the remaining bag helps retain moisture and encourage mushrooms to grow on top instead of all over, making them easier to harvest. (Fig. 1.)
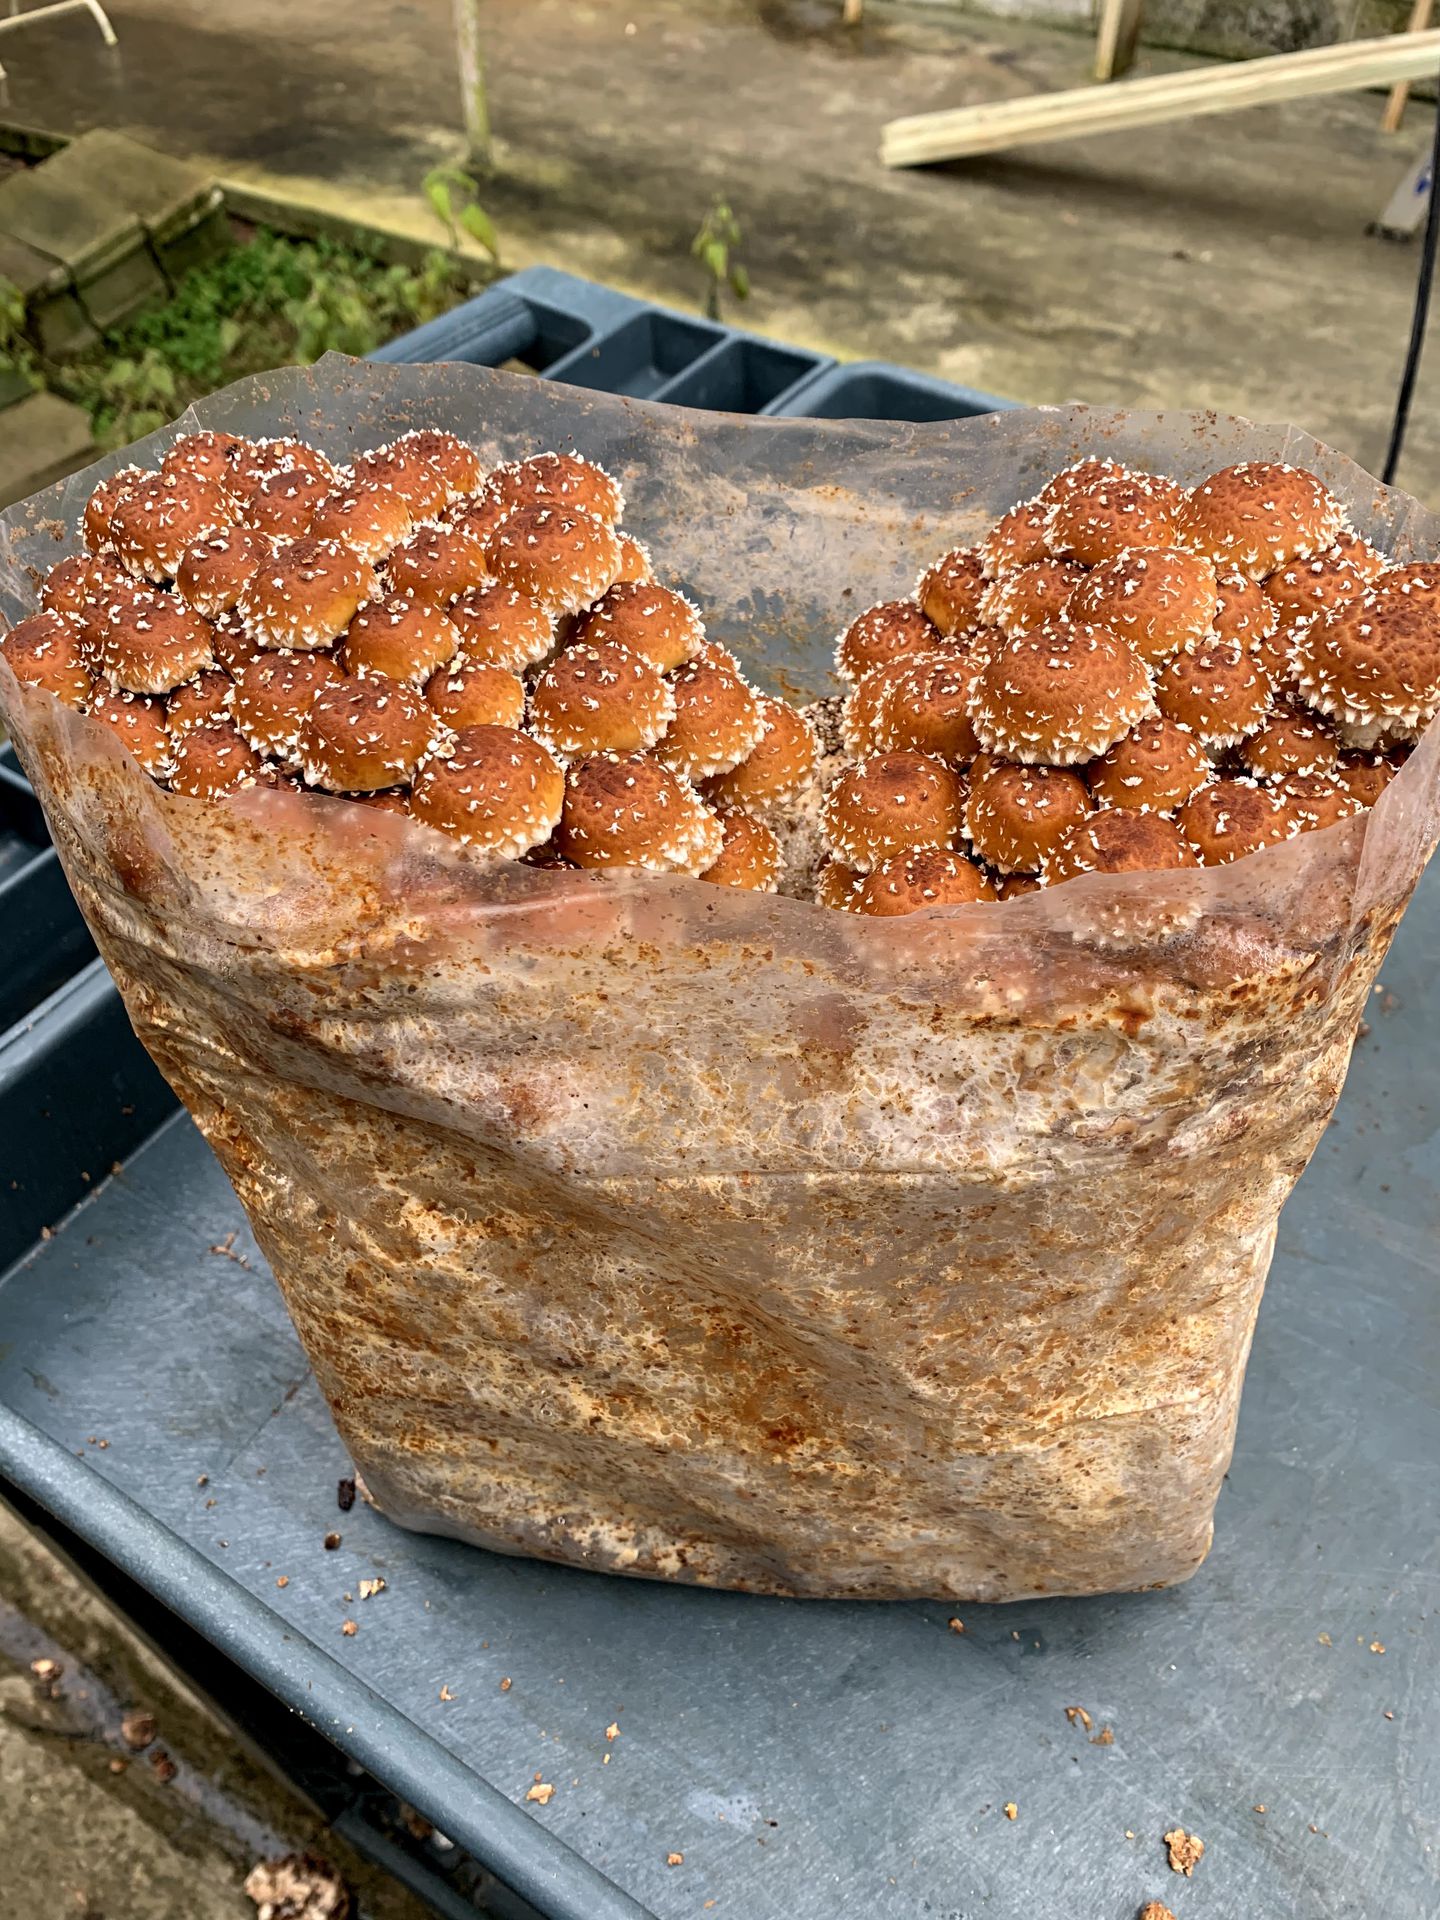
Fig. 1
Step 2: Keep 'em cool and moist
Pholiota species are happiest between 55 and 68 degrees but can handle temperatures down to 50 or daytime temperatures of up 70 .
Find a place in your home or garage to place your kit. We suggest having it somewhere that gets some airflow. Spots near doors or open windows are great. As are large open rooms, basements, or garages. Mushrooms take in oxygen and exude CO2 just like us. Keeping your kit in a closed closet or a bedroom is less than ideal as they will be more likely to suffocate on their own exhaled CO2 (and yours as well). This is more of a concern in the winter time as our homes tend to have elevated CO2 levels.
Once you've chosen a home for your kit, we recommend putting you kit inside the tote after you have inverted the tote itself. Then place a book or other object under one side to create a 1-3 inch gap on one side. This will allow natural air currents that move along the floor to carry away CO2 with settles near the floor as it is heavier than oxygen. This will help your kit breath in between your fanning it daily. (Fig. 3)
Using a clean razor knife, slice of the top of the bag about 2-3 inches above the top of the substrate block inside. Exposing the top the substrate to air will cause your mushrooms to start growing while the remaining bag helps retain moisture and encourage mushrooms to grow on top instead of all over, making them easier to harvest. (Fig. 1.)
Fig. 1
Step 2: Keep 'em cool and moist
Pholiota species are happiest between 55 and 68 degrees but can handle temperatures down to 50 or daytime temperatures of up 70 .
Find a place in your home or garage to place your kit. We suggest having it somewhere that gets some airflow. Spots near doors or open windows are great. As are large open rooms, basements, or garages. Mushrooms take in oxygen and exude CO2 just like us. Keeping your kit in a closed closet or a bedroom is less than ideal as they will be more likely to suffocate on their own exhaled CO2 (and yours as well). This is more of a concern in the winter time as our homes tend to have elevated CO2 levels.
Once you've chosen a home for your kit, we recommend putting you kit inside the tote after you have inverted the tote itself. Then place a book or other object under one side to create a 1-3 inch gap on one side. This will allow natural air currents that move along the floor to carry away CO2 with settles near the floor as it is heavier than oxygen. This will help your kit breath in between your fanning it daily. (Fig. 3)